Ellipse Leg Exerciser: Step-by-Step Guide for Home Use
September 2, 2026
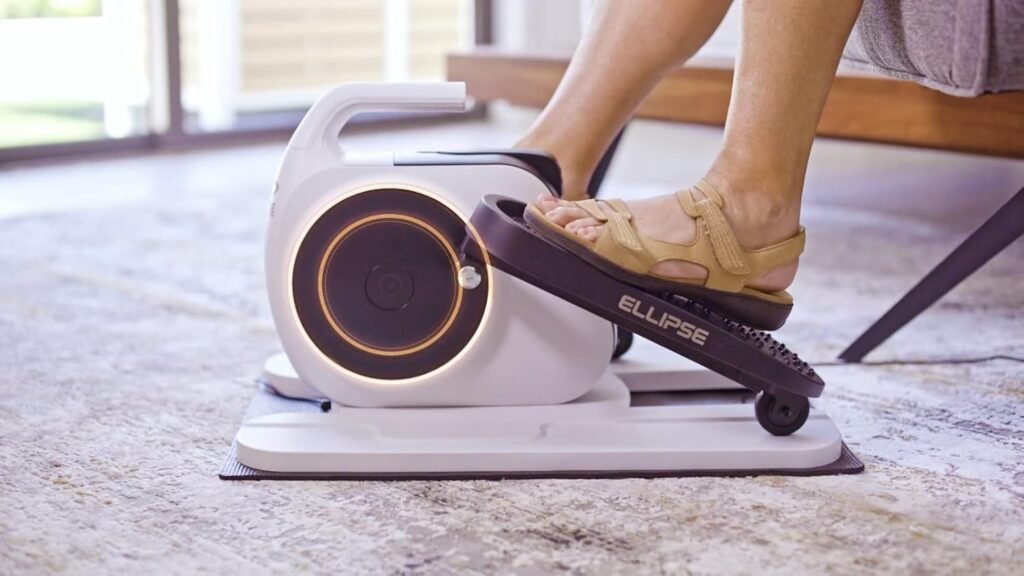
An ellipse leg exerciser can be a practical option when you want to add more leg movement to your day without setting aside space for a full-size elliptical machine. These compact devices typically use pedals that move through an elliptical-style path and may be designed for seated use, standing use, or a specific position defined by the manufacturer.
The equipment may look simple, but getting useful, comfortable movement from it depends on more than putting your feet on the pedals and starting. Chair height, machine placement, resistance, posture, footwear, and even the floor underneath the exerciser can affect your experience.
This step-by-step guide walks you through the process from initial setup to building a practical routine. Because designs vary considerably, always treat the manufacturer’s instructions for your particular model as the primary source for setup, operating limits, and safety information.
Step 1: Understand What Your Ellipse Leg Exerciser Is Designed to Do
Before your first session, identify exactly what type of equipment you own. The term ellipse leg exerciser can describe several compact pedal-based machines, and they are not necessarily used in the same way.
Some models are intended primarily for seated pedaling. Others may support different exercise positions. Certain units are manually powered by your movement, while powered models may require an electrical connection and provide motorized pedal motion.
Start with this checklist:
✓ Read the manufacturer’s operating instructions.
✓ Confirm whether the machine is intended for seated, standing, or another specified type of use.
✓ Check the manufacturer’s stated user limits.
✓ Identify the available resistance or intensity controls.
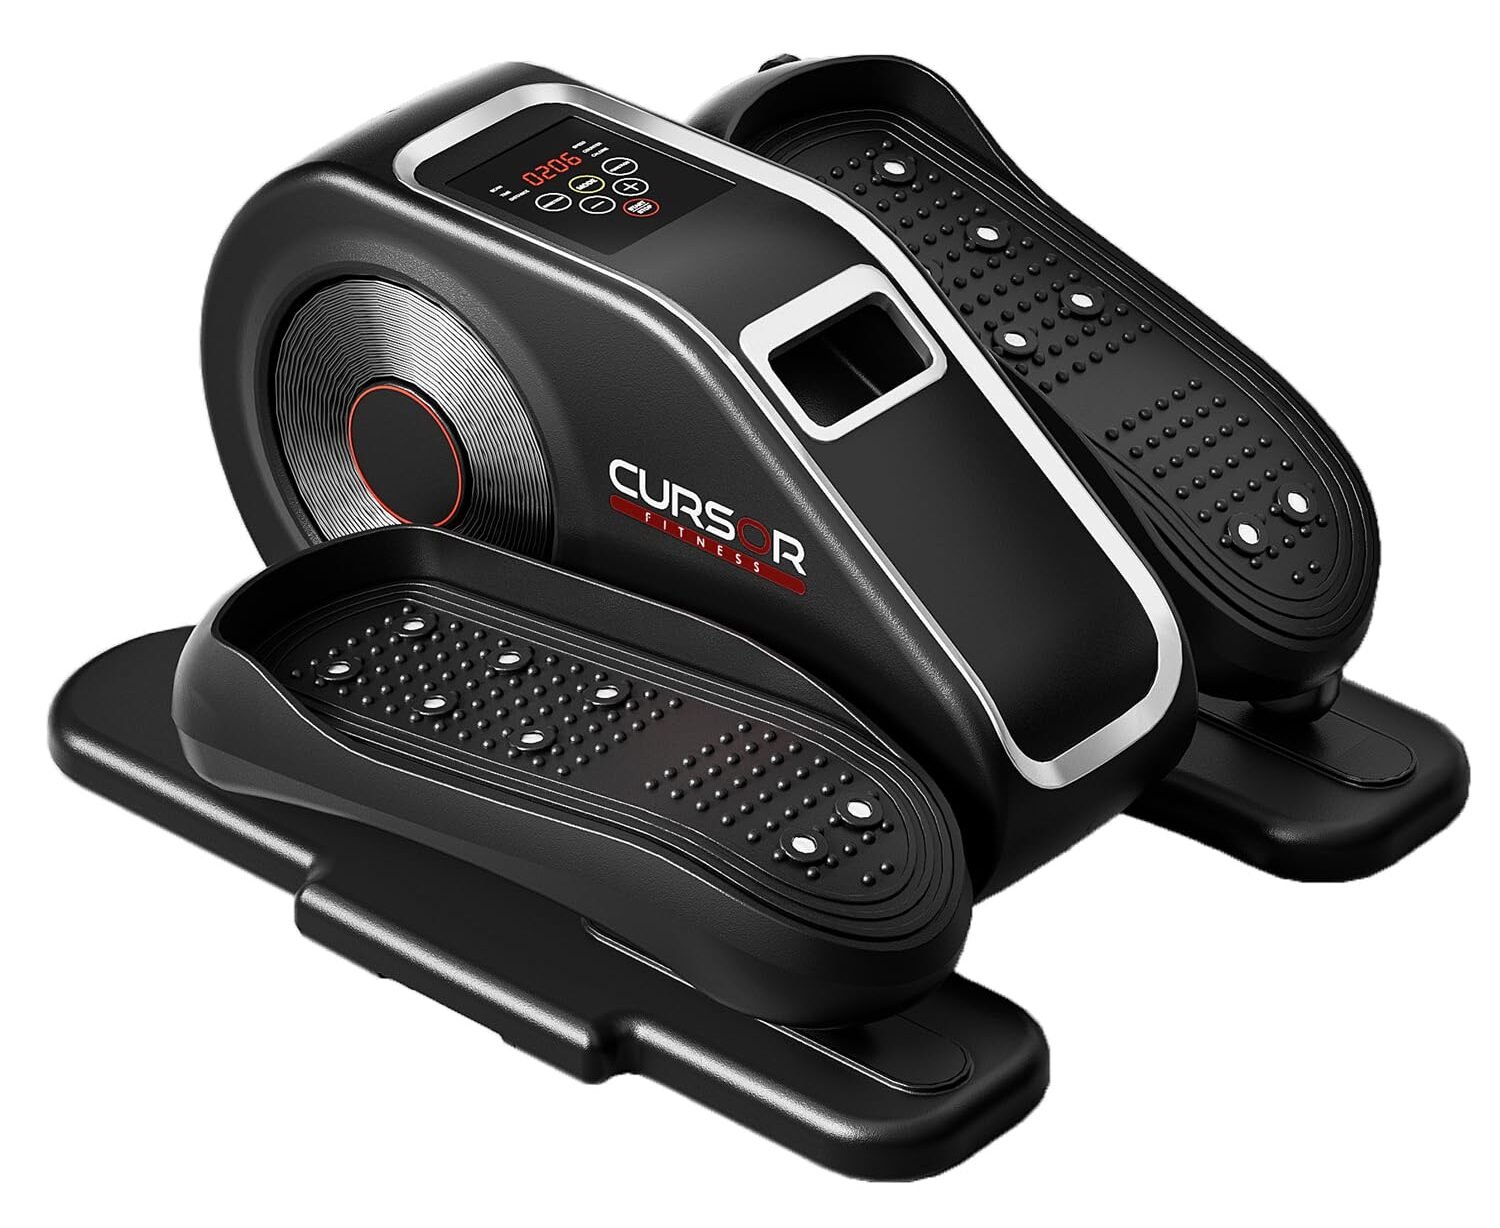
✓ Learn what the display and buttons do, if provided.
✓ Determine whether electrical power or charging is required.
✓ Check the recommended floor surface and clearance around the machine.
Tip: Do not assume a compact pedal machine can be used while standing simply because it appears strong enough. Use it only in the positions specifically permitted by its manufacturer.
Step 2: Choose a Stable Location
Where you put the exerciser can have a surprisingly large effect on how it feels. If the unit moves across the floor while you pedal, you may spend more time repositioning it than exercising.
Choose a flat area with enough room for your legs to move freely. Make sure nearby furniture, cables, rugs, and other objects cannot interfere with the pedals or your feet.
If you are using the exerciser under a desk, check clearance before beginning. Your knees need enough space throughout the pedal cycle—not just when your feet are stationary.
Place the machine on a flat surface recommended by the manufacturer.
Check that all feet or supports contact the floor correctly.
Sit or position yourself as directed for your model.
Slowly move the pedals through a complete cycle.
Confirm that your knees, shoes, and pedals do not hit surrounding objects.
⚠ Warning: Do not try to solve excessive movement by placing the machine on an improvised unstable platform. If additional floor protection or an anti-slip mat is appropriate, follow the manufacturer’s recommendations.
Step 3: Set Up Your Chair for Seated Use
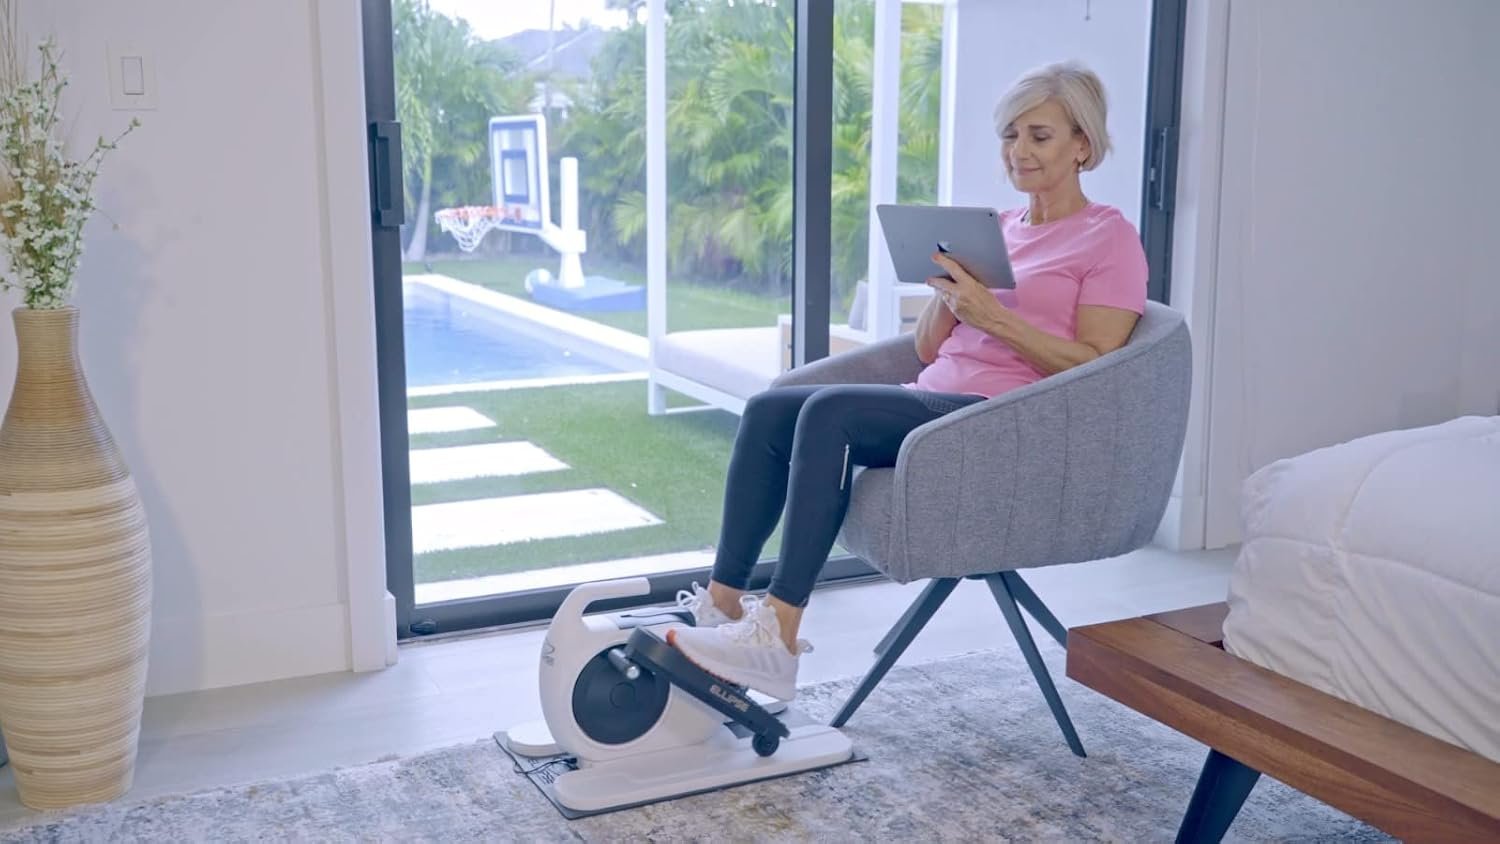
If your ellipse leg exerciser is designed for seated use, the chair becomes part of your exercise setup.
A chair that rolls away from the machine or forces you into an awkward position can make pedaling uncomfortable. Choose a stable seating arrangement appropriate for the exerciser.
Position the machine so you can reach the pedals naturally without excessively stretching your legs or crowding them underneath you. You should not have to perch on the edge of the chair simply to complete the pedal motion.
Check your position:
✓ Your chair feels stable during pedaling.
✓ Your back can remain in a comfortable position.
✓ Both feet can stay securely positioned on the pedals.
✓ Your knees have enough clearance.
✓ Your legs can follow the pedal path without obvious twisting.
✓ You can reach the controls safely if adjustments are needed.
If you plan to pedal while working at a desk, test the entire setup before attempting to type, read, or participate in a meeting at the same time.
Tip: Under-desk compatibility is about more than the footprint of the machine. The pedal path raises and moves your knees, so vertical clearance is just as important as floor space.
Step 4: Position Your Feet Securely
Foot placement deserves attention because your feet repeatedly travel through the same motion.
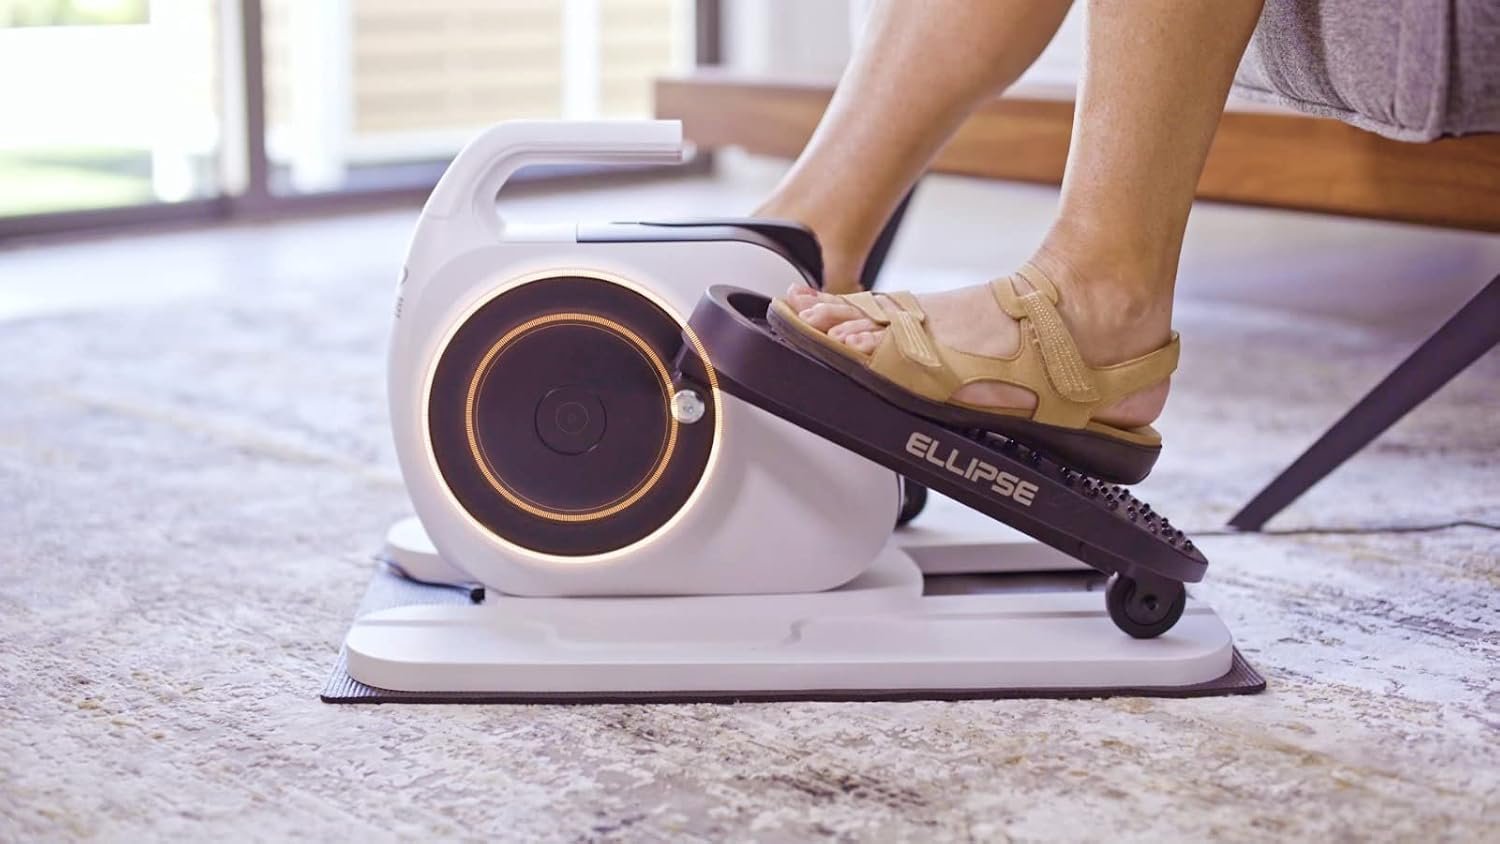
Place each foot on the pedal as directed by the manufacturer. If the pedals include straps, textured surfaces, raised edges, or other positioning features, use them according to the product instructions.
Before increasing speed or resistance, pedal slowly and observe what happens.
✓ Do your feet remain comfortably supported?
✓ Do your shoes maintain good contact with the pedals?
✓ Can your legs move without your knees collapsing noticeably inward or pushing awkwardly outward?
✓ Can you maintain your position without repeatedly adjusting your feet?
Appropriate footwear may provide more predictable pedal contact than loose footwear. Follow the manufacturer’s recommendations regarding shoes and foot placement.
⚠ Common Mistake: Do not increase the pace simply because your feet keep shifting. Stop, correct your setup, and determine why your position feels unstable.
Step 5: Start With a Comfortable Resistance or Intensity
More resistance is not automatically better.
If your model provides adjustable resistance, start at a manageable setting. The goal of your first sessions is to become familiar with the movement and controls, not to discover the maximum setting you can tolerate.
Use this simple progression:
Begin at a low or comfortable setting appropriate for your machine.
Pedal slowly while paying attention to the motion.
Check whether you can maintain a controlled rhythm.
Notice whether your seating and foot position remain stable.
Adjust gradually only if the current setting feels appropriate.
Powered ellipse exercisers require additional attention because the pedals may move differently from a fully manual machine. Learn how to start, stop, and change settings before settling into a session.
⚠ Warning: Never place your hands near moving pedal mechanisms or adjustment points while the equipment is operating. Follow all manufacturer instructions for adjustments, cleaning, and troubleshooting.
Step 6: Learn a Smooth Pedaling Rhythm
Once your setup feels stable, focus on smooth movement rather than speed.
Try to let your legs follow the machine’s intended elliptical path instead of fighting against it. If you are rocking in your chair, repeatedly losing foot position, or making the entire unit move across the floor, stop and inspect the setup.
During your first sessions, ask yourself:
✓ Can I maintain this movement comfortably?
✓ Does the machine remain stable?
✓ Are my feet staying in position?
✓ Am I sitting or standing as the manufacturer intends?
✓ Can I stop the machine easily?
You do not need to chase a particular cadence simply because someone else uses it. Resistance, machine design, fitness level, intended use, and individual comfort all influence an appropriate pace.
Step 7: Build a Routine Gradually
A common mistake with new exercise equipment is doing too much simply because the first session feels easy. A more practical approach is to become familiar with the machine gradually.
Start with manageable sessions that allow you to evaluate your comfort and setup. Increase your use progressively according to your goals, experience, and the manufacturer’s guidance.
You might use an ellipse leg exerciser:
during a dedicated home exercise session;
while reading;
during certain desk activities if the machine and workspace are suitable;
as one component of a broader home fitness routine;
when you want a compact alternative to larger cardio equipment.
Consistency does not require using the machine constantly. A routine that fits naturally into your schedule is more practical than an ambitious plan that makes the equipment inconvenient to use.
⚠ Safety Note: Stop exercising if you experience unusual pain, dizziness, numbness, shortness of breath beyond what you would normally expect from your activity level, or other concerning symptoms. If you have an injury, medical condition, significant mobility limitation, or concerns about exercise, seek individualized guidance from an appropriate healthcare professional.
Step 8: Use the Controls Without Chasing Numbers
Your exerciser may have a display that reports information such as time, pedal activity, or other workout measurements. The exact features depend on the model.
These numbers can help you monitor your own sessions, but avoid treating every displayed value as a precise measure of fitness progress. Estimates produced by consumer exercise equipment may depend on the device’s sensors and calculation methods.
Instead, use the controls to support practical questions:
How long did I use the machine?
Which resistance setting felt comfortable?
Can I maintain a smooth rhythm?
Does my current setup work well under my desk?
Am I becoming more comfortable using the equipment?
Tip: Compare your sessions primarily with your own previous use rather than someone else’s numbers. Your equipment, settings, goals, and physical characteristics may be different.
Step 9: Check Noise and Movement
Compact exercisers are often attractive for bedrooms, apartments, offices, and shared spaces, so noise can be an important consideration.
Some operating sound is normal for exercise equipment. A new or unusual sound, however, deserves attention.
If the machine becomes noticeably louder or starts moving unexpectedly:
Stop using it safely.
Check that it is positioned correctly.
Inspect accessible components according to the manufacturer’s instructions.
Confirm that nothing is touching or obstructing the pedals.
Consult the troubleshooting guidance for your model.
Do not disassemble powered components unless the manufacturer specifically provides instructions for doing so.
Step 10: Create a Simple Maintenance Routine
An ellipse leg exerciser is relatively compact, but it still contains moving parts and surfaces that benefit from routine inspection.
Before or after use, take a few moments to check the machine.
✓ Keep the pedals and contact surfaces clean.
✓ Look for loose, damaged, or unusually worn components.
✓ Check cords and power connections on powered models.
✓ Keep objects away from moving mechanisms.
✓ Store the equipment according to manufacturer instructions.
✓ Follow the recommended maintenance schedule for your specific model.
Avoid applying random lubricants or household cleaners to the machine. Different materials and mechanisms require different care, so use only maintenance products and procedures recommended for your equipment.
Step 11: Decide Whether Your Setup Is Actually Working for You
After you have used the machine several times, evaluate the experience rather than assuming you must adapt to an inconvenient setup.
Ask yourself:
✓ Does the exerciser fit comfortably in the available space?
✓ Can I get on and off or position myself easily?
✓ Does it remain stable during normal use?
✓ Is the noise acceptable for where I use it?
✓ Are the controls easy to understand?
✓ Can I store or move it conveniently?
✓ Does the movement suit the type of exercise I actually want to do?
If you are shopping rather than evaluating a machine you already own, these questions make a useful buying checklist. Features such as extra resistance levels, displays, remote controls, portability handles, or powered operation matter only when they improve how you intend to use the equipment.
Build Your Ellipse Leg Exerciser Routine Around Real Life
The most useful ellipse leg exerciser is not necessarily the model with the most controls or the highest resistance. It is one that fits your available space, intended exercise position, daily routine, and practical expectations.
Begin with the basics: understand your machine, choose a stable location, set up your seating correctly when applicable, position your feet securely, and start at a manageable intensity. Once those fundamentals feel natural, you can gradually adapt your sessions to your goals.
Before each session, remember the essentials:
✓ Check that the machine is stable.
✓ Confirm adequate space around the pedals.
✓ Use the equipment only as intended by its manufacturer.
✓ Begin at a manageable resistance or intensity.
✓ Maintain controlled movement.
✓ Stop if you experience unusual pain or other concerning symptoms.
✓ Inspect and maintain the equipment regularly.
Keep the routine practical. A compact exerciser is valuable because it can make movement more convenient—not because you need to make every session complicated.