Slant Boards: Step-by-Step Guide to Exercises, Setup, and Choosing the Right Board
November 4, 2026
Slant boards may look like simple pieces of exercise equipment, but their usefulness goes well beyond standing on an inclined surface. Depending on the design, they can support calf stretching, ankle mobility exercises, heel-elevated squats, and lower-body warm-up routines.
For home fitness users, the biggest advantage is simplicity. You don’t need a complicated machine or a large workout area. A suitable slant board provides an inclined surface that can be incorporated into different movements.
However, not all slant boards are built for the same activities. Some are intended primarily for stretching, while others are designed to support dynamic exercises. The available angles, grip, stability, materials, and weight capacity can influence how safely and comfortably you use them.
This step-by-step guide explains how to choose the right slant board, set it up correctly, perform useful exercises, and develop a practical routine without making common mistakes.
Step 1: Choose the Right Slant Board for Your Goals
Before comparing materials or adjustable angles, decide why you want a slant board. Your intended exercises should determine which features matter most.
Someone interested in gentle calf stretching may have different requirements from someone planning to use heel elevation during bodyweight or loaded squats.
Identify Your Main Exercise Goal
Start by choosing your primary use:
Calf stretching: You want an inclined surface for controlled standing stretches.
Ankle mobility: You want to practice comfortable ankle movement and lower-leg positioning.
Heel-elevated squats: You want a stable platform specifically approved for squat variations.
General warm-ups: You want a compact tool that can be incorporated into lower-body preparation.
Home fitness versatility: You want one board suitable for several permitted exercises.
Once you understand your goal, evaluate the design instead of choosing the board with the longest list of advertised benefits.
Compare Adjustable and Fixed-Angle Slant Boards
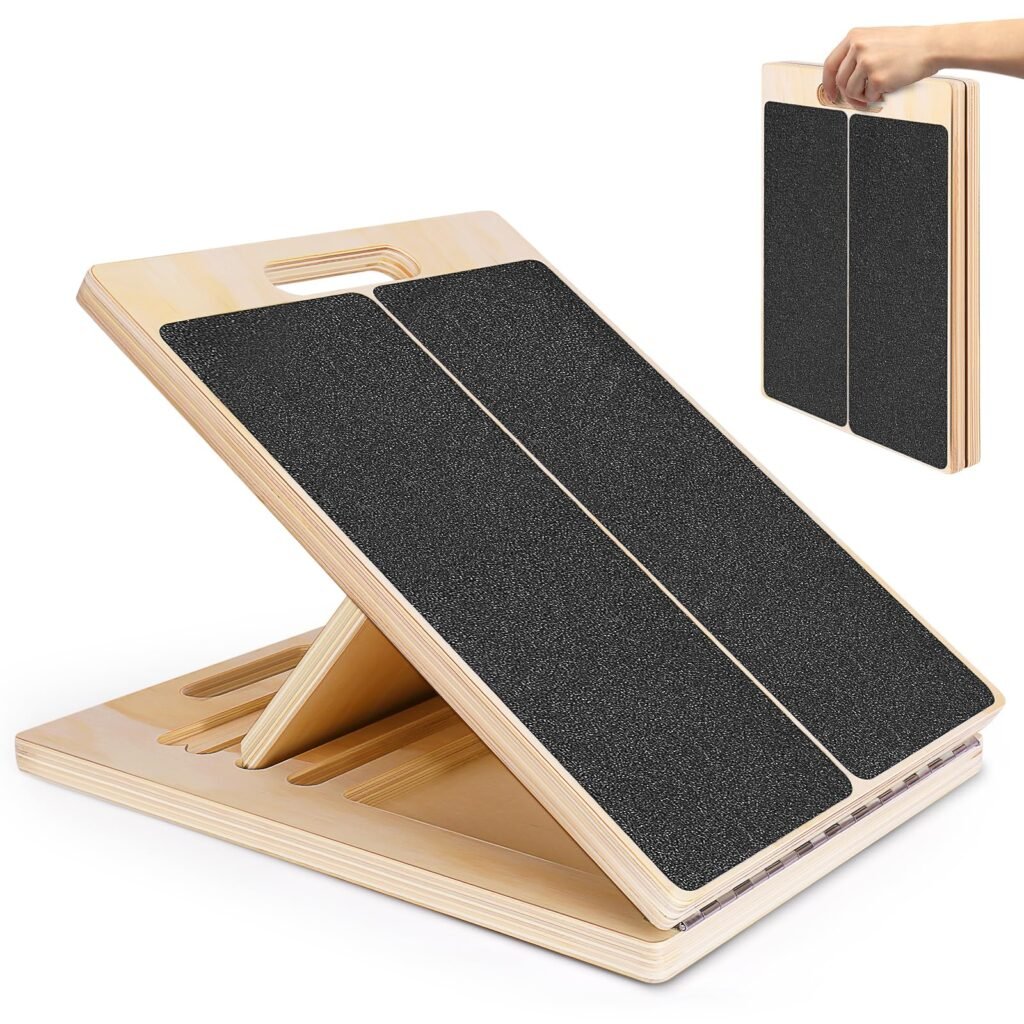
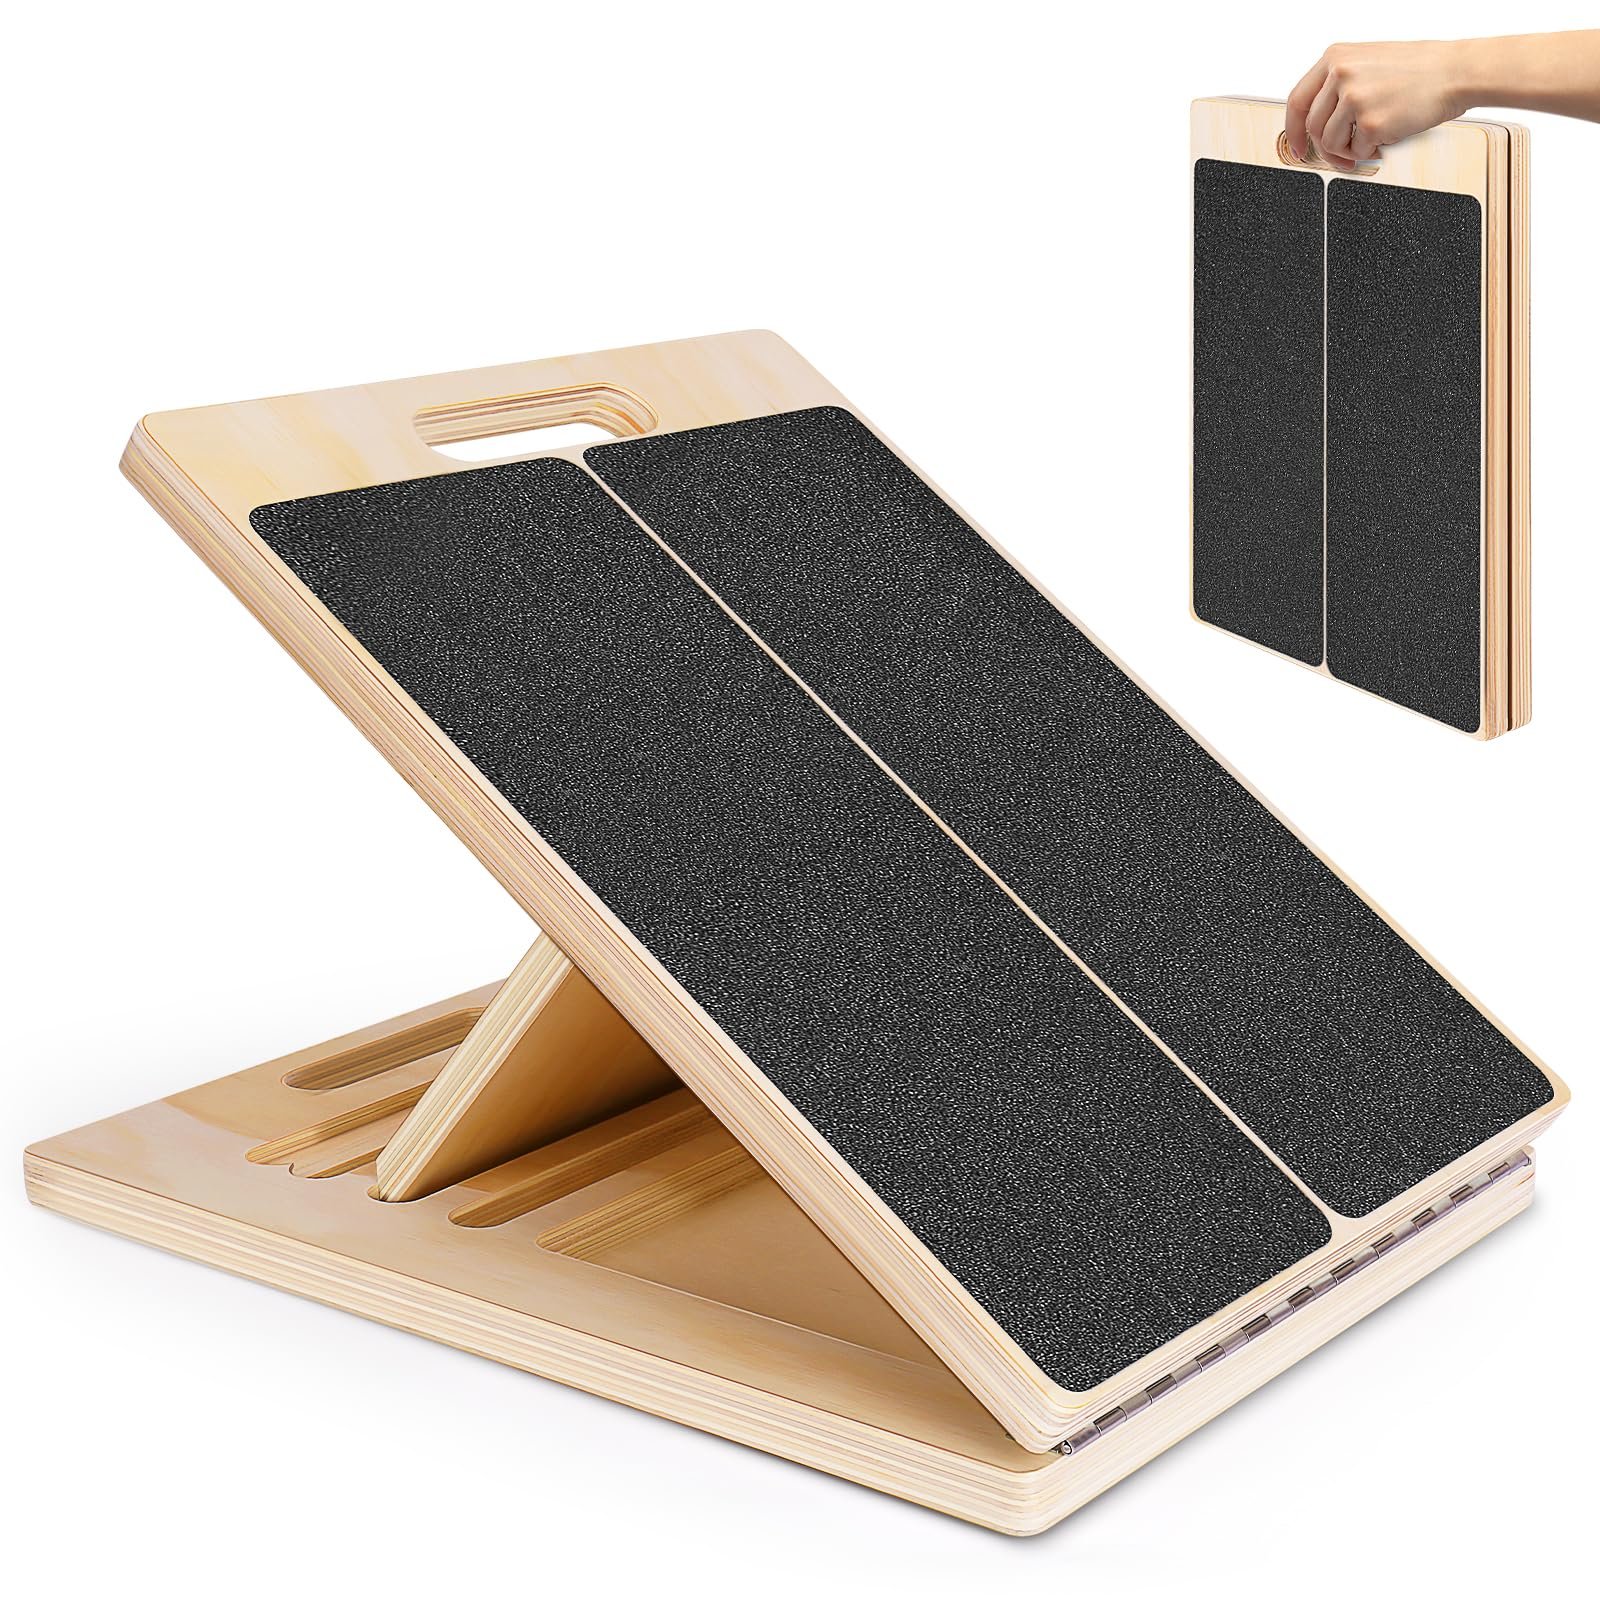
Adjustable slant boards allow you to change the incline. This can be useful when different exercises or users require different positions.
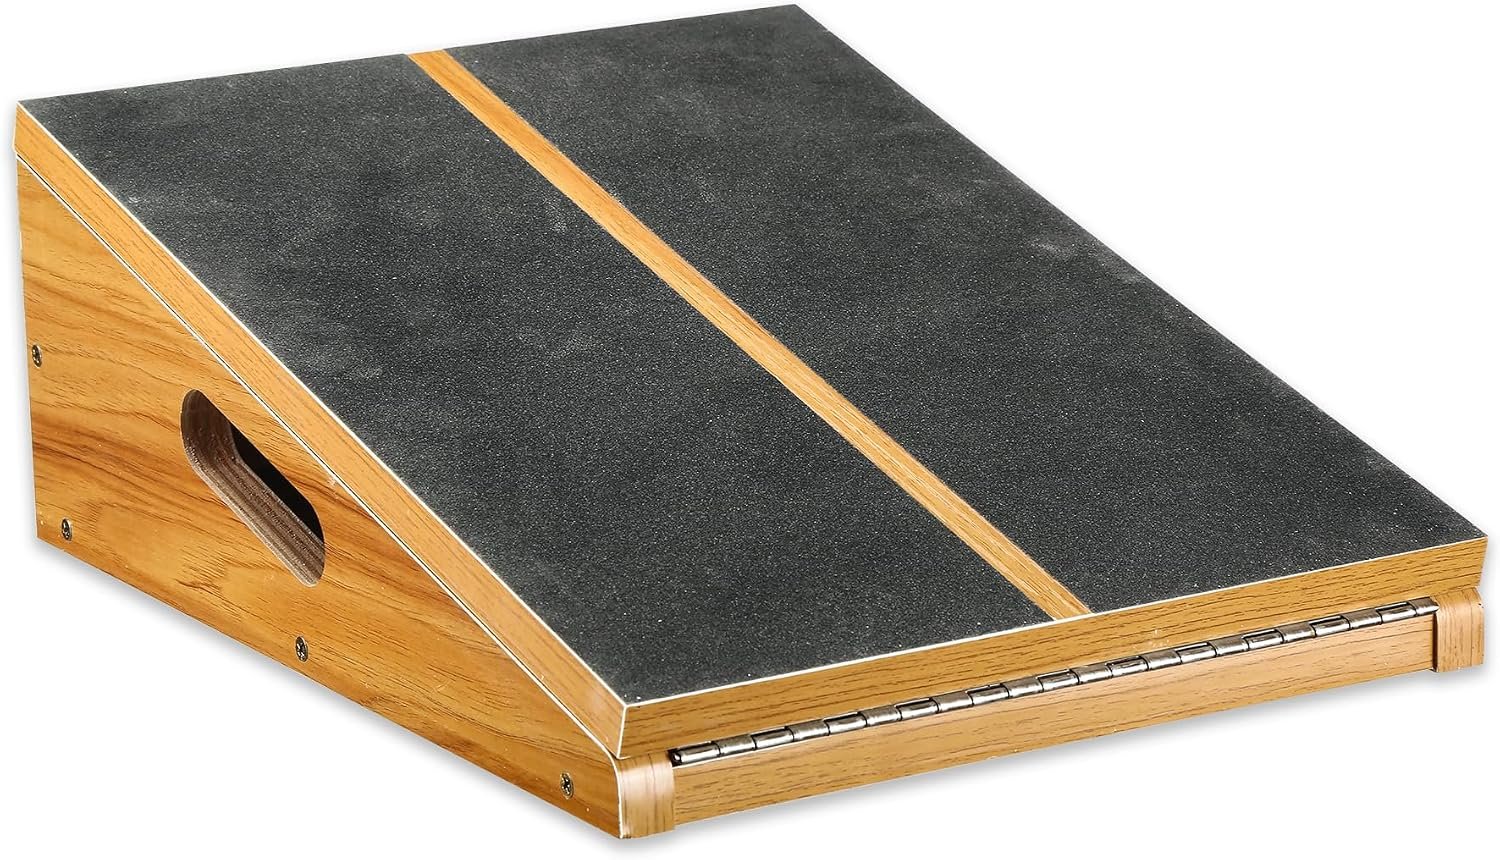
A fixed-angle board offers a consistent incline and may appeal to someone who prefers a straightforward setup. However, a single angle may not feel appropriate for every exercise.
With either type, check the actual angle information supplied by the manufacturer rather than assuming a board is suitable based on photographs alone.
Evaluate the Materials
Common slant board designs use wood, plastic, metal, or combinations of materials. Each can be appropriate when properly engineered for its intended purpose.
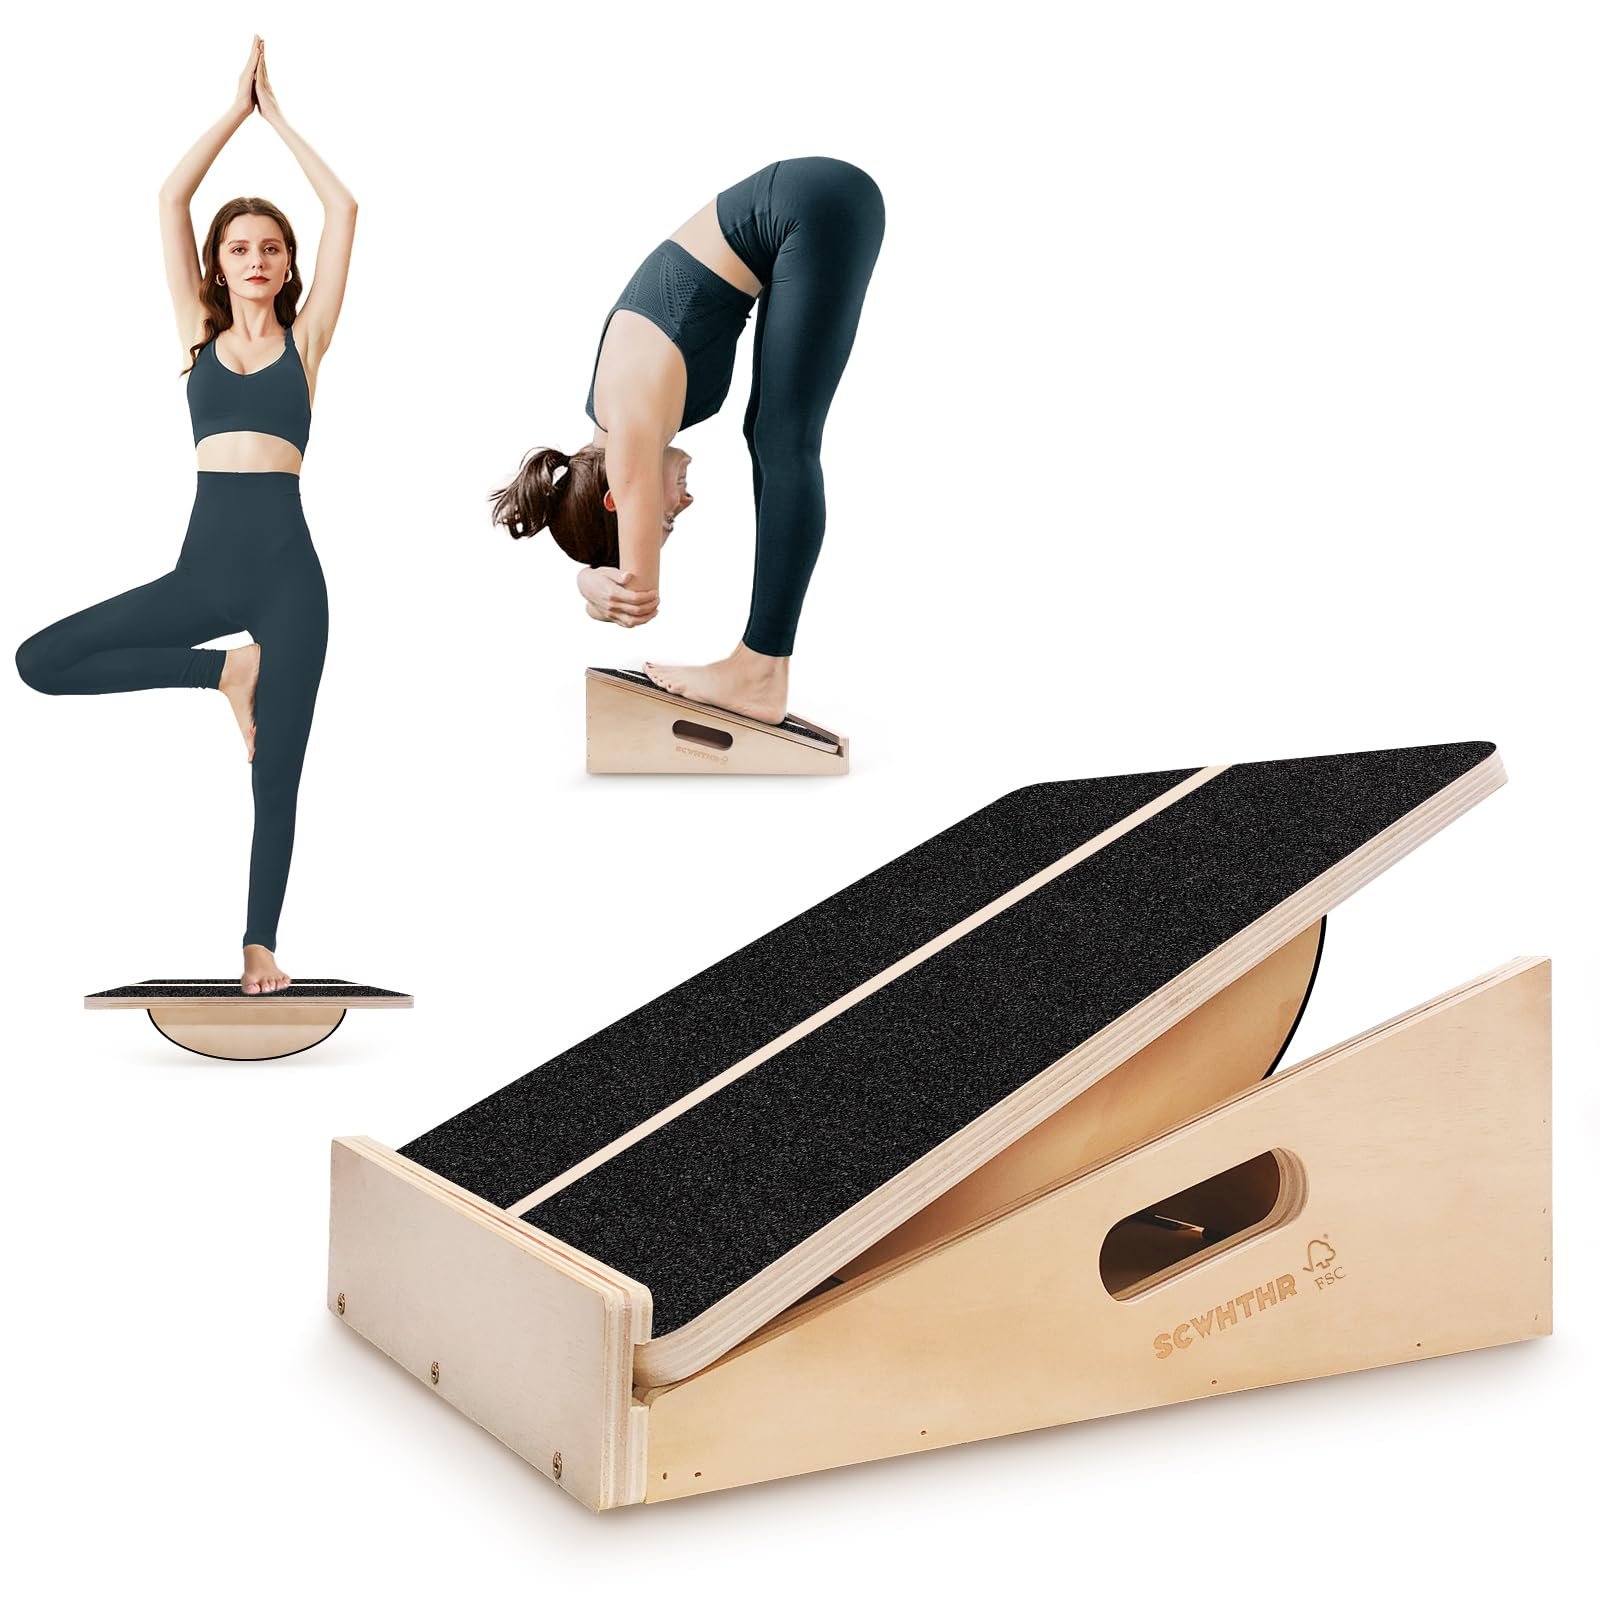
Wooden boards may appeal to users who prefer a traditional, solid platform. Plastic designs can be lightweight and convenient to move. Metal-frame boards may use adjustable support mechanisms.
Material alone does not determine quality. Construction, stability, grip, and stated loading limits are more useful evaluation criteria.
Check the Features That Matter
Before buying, review this checklist:
✓ The board is approved for your intended exercises.
✓ The incline options match your needs.
✓ The standing surface provides adequate grip.
✓ The base is designed to remain stable.
✓ The manufacturer’s weight capacity accommodates the intended user and loading.
✓ The platform provides enough space for secure foot placement.
✓ Any adjustment mechanism locks securely.
✓ The board fits your available workout and storage space.
✓ The manufacturer provides clear setup and safety instructions.
Tip: If several people will use the same board, adjustable angles may provide more flexibility. Always verify that the adjustment mechanism is secure before anyone steps onto it.
Step 2: Set Up Your Slant Board Correctly
Even a well-designed slant board can become unstable when placed on an unsuitable surface. Proper setup should come before stretching, squatting, or mobility work.
Choose a Stable Location
Select a flat, firm floor with enough room to step on and off safely. Avoid uneven surfaces or locations where the board can rock or slide.
If the manufacturer recommends a particular floor type or compatible exercise mat, follow that guidance.
Keep the surrounding area free from objects that could interfere with balance.
Inspect the Board Before Use
Perform a quick visual inspection:
Check the board for cracks, deformation, or visible damage.
Inspect the standing surface for worn or loose grip material.
Confirm that the base sits securely on the floor.
Check hinges, supports, or locking mechanisms on adjustable models.
Make sure the selected incline is fully secured.
Verify that the board does not shift when you carefully test its stability.
Do not use damaged equipment or attempt to repair a load-bearing component without appropriate manufacturer guidance.
Select Your Starting Angle
For beginners, a lower comfortable incline is often a sensible starting point.
A steeper angle generally changes the demands of the position, but that does not automatically make the exercise more useful. The correct setting should allow secure foot placement, controlled posture, and a comfortable range of movement.
Before beginning, stand carefully on the board while using a stable support if necessary. Check whether you can maintain balance without excessive tension.
⚠ Warning: Never adjust the incline while standing on the board unless the manufacturer explicitly provides a safe procedure for doing so. Step off first and secure the adjustment mechanism before returning.
Step 3: Learn the Best Slant Board Exercises
Once the equipment is stable, you can begin practicing exercises appropriate to your ability and the board’s intended use.
Start with controlled movements. Do not combine a steep incline, added resistance, and unfamiliar technique during your first session.
Exercise 1: Standing Calf Stretch
Best for: General calf stretching and becoming familiar with the inclined surface.
This is one of the simplest ways to use a slant board.
Place the board on a stable floor and select a comfortable incline.
Stand with both feet securely positioned on the board.
Use a wall or stable support if needed.
Keep your knees comfortably straight without forcing them into a locked position.
Maintain an upright, controlled posture.
Allow a gentle stretch through the calf area.
Hold without bouncing, then step off carefully.
The stretch should feel manageable. If your heels lift, your balance becomes uncertain, or the sensation becomes painful, reduce the angle or stop.
Tip: Begin with a position you can control easily. A comfortable incline is more useful than a steep angle that causes you to tense your entire body.
Exercise 2: Bent-Knee Calf Stretch
Best for: Exploring a different calf-stretching position.
Changing the knee angle changes the mechanics of the stretch. A slightly bent-knee position may emphasize a different sensation in the lower leg compared with a straight-knee stretch.
Stand securely on the board.
Hold a stable support if needed.
Begin with a comfortable upright posture.
Bend your knees slightly while maintaining control.
Keep your heels supported and avoid bouncing.
Return gradually to the starting position.
Do not force your knees forward or attempt to reach the deepest possible position.
Exercise 3: Single-Leg Calf Stretch
Best for: Focusing on one calf at a time after mastering the two-leg variation.
This exercise introduces a greater balance demand, so it should not be the first variation you attempt.
Choose a comfortable incline.
Position the working foot securely on the board.
Keep the other foot on a stable surface in a position that provides support, according to the board’s design.
Use a wall or rail for balance.
Maintain a gentle stretch without twisting your hips.
Return to neutral and repeat on the opposite side.
If you cannot maintain secure positioning, return to the two-leg stretch.
Exercise 4: Controlled Ankle Mobility Movement
Best for: Practicing comfortable ankle movement and lower-leg control.
A slant board can be incorporated into ankle-focused mobility work, although the appropriate setup depends on the board and exercise.
Place your foot securely on the intended surface.
Maintain a stable position using support when necessary.
Move your knee gently forward within a comfortable range.
Keep your foot supported and avoid excessive twisting.
Return slowly to the starting position.
Repeat only while the movement remains comfortable and controlled.
The objective is controlled movement, not forcing the ankle into an extreme position.
⚠ Warning: If you have a recent ankle injury, unexplained pain, significant swelling, or a rehabilitation plan, do not substitute general slant board exercises for individualized professional guidance.
Exercise 5: Heel-Elevated Bodyweight Squats
Best for: Practicing a squat variation with elevated heels.
Heel elevation changes the relationship between the ankles, knees, hips, and torso during a squat. Some users find that this variation allows a more upright torso or changes the way the exercise feels.
However, not every slant board is designed for dynamic squatting. Confirm that your model is approved for the movement before attempting it.
Place the board on a stable surface.
Check that the manufacturer permits bodyweight squats.
Position your feet securely according to the board’s design.
Stand tall and establish balance.
Bend at the knees and hips to lower into a comfortable squat.
Keep the movement controlled without bouncing.
Stand back up smoothly.
Stop if the board shifts or your technique becomes unstable.
Start without additional weights. A comfortable bodyweight squat is a better foundation than immediately attempting a loaded variation.
Exercise 6: Supported Heel-Elevated Squats
Best for: Learning a controlled squat variation when balance is a limiting factor.
For some beginners, holding a stable support can make it easier to concentrate on movement rather than balance.
Verify that your board supports squatting exercises.
Position it securely near an appropriate stable support.
Stand on the board with your feet properly positioned.
Hold the support lightly as needed.
Lower into a comfortable squat.
Return to standing with control.
Do not rely on unstable furniture or use the support to force a deeper squat.
Step 4: Build a Practical Slant Board Routine
Once you understand the individual exercises, the next step is to combine them into a routine that matches your goals.
You do not need to perform every variation in one session. Choose a few movements and focus on performing them well.
Beginner Stretching Routine
For a simple stretching-focused session, use this sequence:
Preparation: Walk or move gently until you feel comfortable beginning.
Standing calf stretch: Hold a comfortable position without bouncing.
Bent-knee calf stretch: Explore a slightly different knee position.
Optional single-leg variation: Add only if your balance and board design allow it.
Finish: Step off carefully and reassess how your lower legs feel.
For general static stretching, a commonly used starting reference is approximately 15–30 seconds per comfortable hold, with one or two repetitions. This is not a requirement for every person or condition. Adjust the duration to your experience and follow any individualized exercise guidance you have received.
Lower-Body Warm-Up Routine
If your goal is preparing for a leg workout, consider a sequence that emphasizes controlled movement rather than long, intense stretching.
Begin with easy walking or other gentle movement.
Perform a few comfortable ankle mobility movements.
Practice bodyweight squats on the floor.
Add supported heel-elevated squats if the board is approved for them.
Continue with your normal exercise-specific warm-up.
Static stretching and dynamic warm-ups serve different purposes. Avoid treating a long, aggressive stretch as a replacement for preparing gradually for the movements in your workout.
How Often Should You Use a Slant Board?
The appropriate frequency depends on the exercises, intensity, your experience, and the rest of your training schedule.
Gentle stretching may fit into a regular mobility routine, while demanding squat variations require consideration of overall training load and recovery.
Use these questions to evaluate your routine:
✓ Can I complete the exercises without unusual pain?
✓ Does the board remain stable?
✓ Am I maintaining controlled technique?
✓ Is the routine appropriate for my fitness level?
✓ Am I allowing adequate recovery from demanding strength exercises?
If discomfort increases or exercise quality declines, reduce the difficulty and reassess.
Step 5: Progress Without Forcing the Incline
Progression is often misunderstood when using adjustable slant boards. The goal is not necessarily to reach the steepest possible angle.
A useful progression should reflect improved control, comfort, and the ability to perform an exercise appropriately.
Progress One Variable at a Time
Consider the following order:
Master the setup. Learn to stand securely and adjust the board correctly.
Improve movement control. Perform the exercise without bouncing, twisting, or losing balance.
Build consistency. Repeat the movement comfortably across sessions.
Adjust duration or repetitions. Make modest changes when appropriate.
Consider incline changes. Increase the angle only if it serves a useful purpose.
Consider advanced variations. Add single-leg or loaded movements only when suitable for your experience and equipment.
Progression does not have to happen at every workout.
Tip: Keep a simple exercise log noting the incline setting, exercise performed, and how comfortable the movement felt. You don’t need complicated measurements to recognize whether your routine is becoming easier to control.
Step 6: Avoid Common Slant Board Mistakes
Many slant board problems come from treating the equipment as more complicated—or more powerful—than it really is.
Mistake 1: Starting With the Steepest Angle
A steep incline may make stretching more intense, but it can also reduce balance and control.
Better approach: Start with a manageable angle and adjust only when needed.
Mistake 2: Ignoring the Board’s Intended Use
A board designed for standing stretches may not be engineered for dynamic squats or additional external weight.
Better approach: Check the manufacturer’s exercise guidance and loading limits before attempting new movements.
Mistake 3: Bouncing During Stretches
Fast, uncontrolled movements can make it difficult to maintain consistent positioning.
Better approach: Use smooth, controlled movement and avoid forcing the range.
Mistake 4: Using Pain as a Measure of Progress
A stronger stretch sensation does not automatically mean a more useful exercise.
Better approach: Work within a comfortable range and stop if you experience sharp or unusual pain.
Mistake 5: Adding Weight Before Learning the Movement
Loaded squats introduce additional demands on both the user and the board.
Better approach: Establish stable bodyweight technique first, then confirm that any planned loading is permitted.
Mistake 6: Neglecting Equipment Inspection
Grip surfaces, adjustment mechanisms, and structural components can wear over time.
Better approach: Inspect the board regularly and follow the manufacturer’s maintenance guidance.
⚠ Warning: Stop using the board if it cracks, shifts unexpectedly, has a damaged locking mechanism, or no longer provides secure footing. Do not continue exercising on equipment that may be structurally compromised.
Step 7: Maintain and Store Your Slant Board
Slant boards generally require relatively little maintenance, but proper care can help preserve their usability.
Cleaning requirements depend on the material and grip surface. A wooden board may have different care instructions from a plastic or metal design.
Follow these practical steps:
Remove dust and dirt according to the manufacturer’s instructions.
Wipe the standing surface when needed using an approved cleaning method.
Allow the board to dry before storage.
Inspect adjustable supports and locking components.
Store the board in a dry, stable location.
Avoid placing heavy objects on it unless the manufacturer permits that storage arrangement.
If the board folds, secure it in the recommended storage position.
Do not expose materials to moisture, heat, or cleaning chemicals beyond the manufacturer’s recommendations.
Making Slant Boards Useful in Your Routine
Slant boardscan be useful tools for calf stretching, ankle-focused movement, and selected lower-body exercises. Their value comes from providing a repeatable inclined surface—not from automatically improving mobility or guaranteeing fitness results.
The most important steps are straightforward: choose equipment designed for your intended activities, set it up securely, start with comfortable exercises, and progress gradually.
For beginners, a basic calf stretch and a slightly bent-knee variation may be enough. For users interested in squat training, a board specifically approved for dynamic exercises can provide another way to practice heel-elevated movements.
Whichever approach you choose, prioritize stability, appropriate technique, and consistency over extreme angles or complicated routines.
Bringing It All Together
Before your next slant board session, use this final checklist:
✓ Confirm the board is suitable for your intended exercise.
✓ Inspect the standing surface and adjustment mechanism.
✓ Place the board on a stable floor.
✓ Select a comfortable incline.
✓ Use support if balance is uncertain.
✓ Start with controlled, beginner-appropriate movements.
✓ Avoid bouncing and forcing the stretch.
✓ Increase difficulty gradually.
✓ Stop if you experience unusual pain or instability.
✓ Clean and store the equipment properly after use.
Whether you’re creating a compact home gym or simply looking for a practical stretching tool, the right slant board can provide a convenient way to organize selected lower-body exercises.
Explore slant boards designed for your preferred activities, compare their construction and adjustment options, and choose a model that fits both your workout goals and available space.
Safety Note: Slant boards are exercise equipment, not medical treatment devices. They should not be used to diagnose, treat, or rehabilitate injuries without appropriate professional guidance. If you have an existing injury, recent surgery, significant balance limitation, or medical condition affecting exercise, consult a qualified healthcare professional before starting. Always follow the manufacturer’s instructions and weight limits.